If you've ever wondered how to clean engine bay properly without costing yourself a repair bill, you're in the right place. I've cleaned dozens of engine bays over the years, from my old 1995 Toyota pickup to a friend's 2018 Honda Civic Si. The process is straightforward, but there are a few tricks that separate a good result from a disaster. In this guide, I'll walk you through exactly how to clean engine bay safely, what products to use, and what to avoid.
What You'll Need to Clean Your Engine Bay
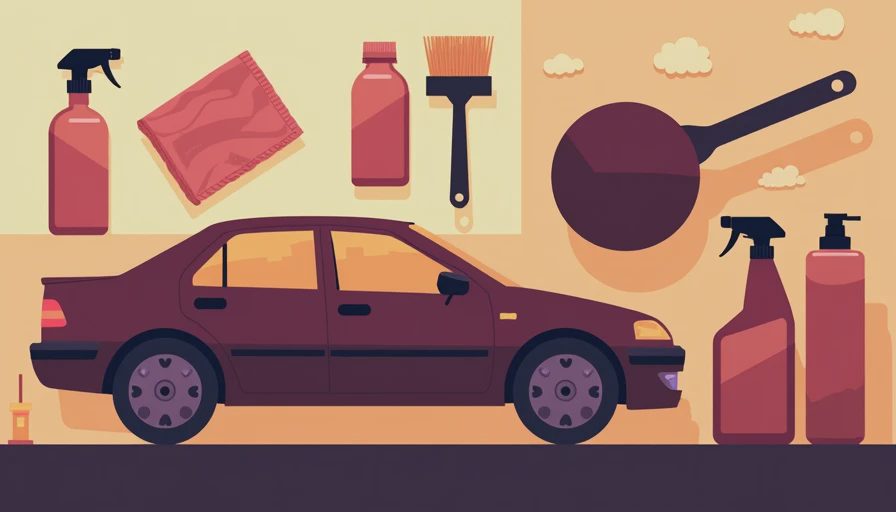
Before you start, gather the right supplies. I rely on a few staples: Simple Green All-Purpose Cleaner or Chemical Guys Orange Degreaser for grease cutting, a soft-bristle boar's hair brush for large surfaces, a detailing brush for crevices, and a wheel brush for tough spots. Microfiber towels are essential for drying and wiping down plastics. You'll also need some large plastic bags and rubber bands to cover sensitive components like the alternator, air intake, and fuse box. A pressure washer can be used, but only on the lowest setting and kept at a distance. A garden hose with a nozzle works just fine. Lastly, a trim restorer like 303 Aerospace Protectant will bring back that factory finish on black plastic.
Step-by-Step Guide to Cleaning the Engine Bay
Step 1: Preparation. Make sure the engine is completely cool—a hot engine can cause degreaser to dry too quickly or damage seals. Cover any exposed electrical components with plastic bags, especially the alternator, battery terminals, and fuse box. If your car has an open intake, seal that too.
Step 2: Apply Degreaser. Spray the degreaser onto the dirty areas—valve covers, intake manifold, the plastic shroud, and any greasy spots. Avoid direct contact with plastic belts and certain rubber hoses. Let it sit for three to five minutes but don't let it dry out.
Step 3: Agitate. Use your brushes to scrub the degreaser into the grime. Start with the large panels, then get into the nooks and crannies with the detailing brush. For stubborn oil deposits, a stiffer brush may be needed. Be gentle around wiring and sensors.
Step 4: Rinse. With the bags still in place, rinse the engine bay with a low-pressure stream of water. Work from the top down, and avoid blasting directly into electrical connectors. I like to start the engine after rinsing to help shake water out of crevices and warm up the engine for drying.

Step 5: Dry and Finish. Remove the plastic bags. Use microfiber towels to dry as much surface water as possible. Run the engine for 10–15 minutes to evaporate remaining moisture. Once dry, apply a trim restorer to any faded plastic for a like-new look.
Common Mistakes and How to Avoid Them
- Using a pressure washer on full blast: High pressure can force water past seals into the alternator or fuse box. Stick to a wide fan pattern and keep the nozzle moving.
- Cleaning a hot engine: Degreaser evaporates too fast and can leave residue, plus thermal shock can crack manifolds. Always let it cool for an hour.
- Forgetting to cover the air intake: If water gets into the intake, you'll be hydro-locking your engine. That's a big repair bill.
- Not drying thoroughly: Water spots on aluminum and connectors can cause corrosion. The engine heat method works well, but a final wipe helps.
How Often Should You Clean the Engine Bay?
I clean mine once a year, typically in spring after winter road salt season. If you drive on gravel roads or park under trees, you might need it twice a year. A clean engine bay makes it easier to spot oil leaks, worn belts, or cracked hoses early. It also impresses potential buyers if you ever sell the car. For daily drivers, the goal is not a showroom shine—just remove built-up grime that can trap heat and moisture.
Engine Bay Cleaning Checklist for Beginners
If you're tackling your first engine bay cleaning, a simple checklist can save you from costly mistakes. Follow these steps each time you clean.
- Wait for the engine to cool completely - park in the shade and let it sit for at least an hour.
- Bag all sensitive electrical components - alternator, fuse box, battery terminals, and any exposed connectors.
- Cover the air intake - if your car has an open air filter, seal it with a plastic bag and rubber band.
- Pre-rinse with low-pressure water to remove loose dirt - don't use high pressure yet.
- Apply degreaser starting from the bottom up - let it dwell for 3-5 minutes, but do not let it dry.
- Scrub with appropriate brushes - use soft bristles for painted surfaces and a detailing brush for tight spots.
- Rinse gently from top to bottom, keeping the nozzle at least 12 inches away from all components.
- Start the engine and let it run for 10 minutes to dry residual moisture, then wipe visible water spots with a microfiber towel.
- Apply a trim restorer to black plastic parts for a finished look.
This checklist ensures you don't skip a critical step and reduces the risk of damage.
Final Thoughts
Cleaning your engine bay isn't just about looks—it helps you keep an eye on the health of your vehicle. Once you know how to clean engine bay correctly, it's a simple Saturday job that takes about an hour. Get the right supplies, follow the steps, and your engine will thank you. If you're extra cautious, skip the pressure washer and stick with a hose. Your car will still look great, and you'll avoid any accidental damage.



Letters
No letters yet — be the first to write.